Accessing Settings
Open Dashboard
Go to bubblav.com/dashboard
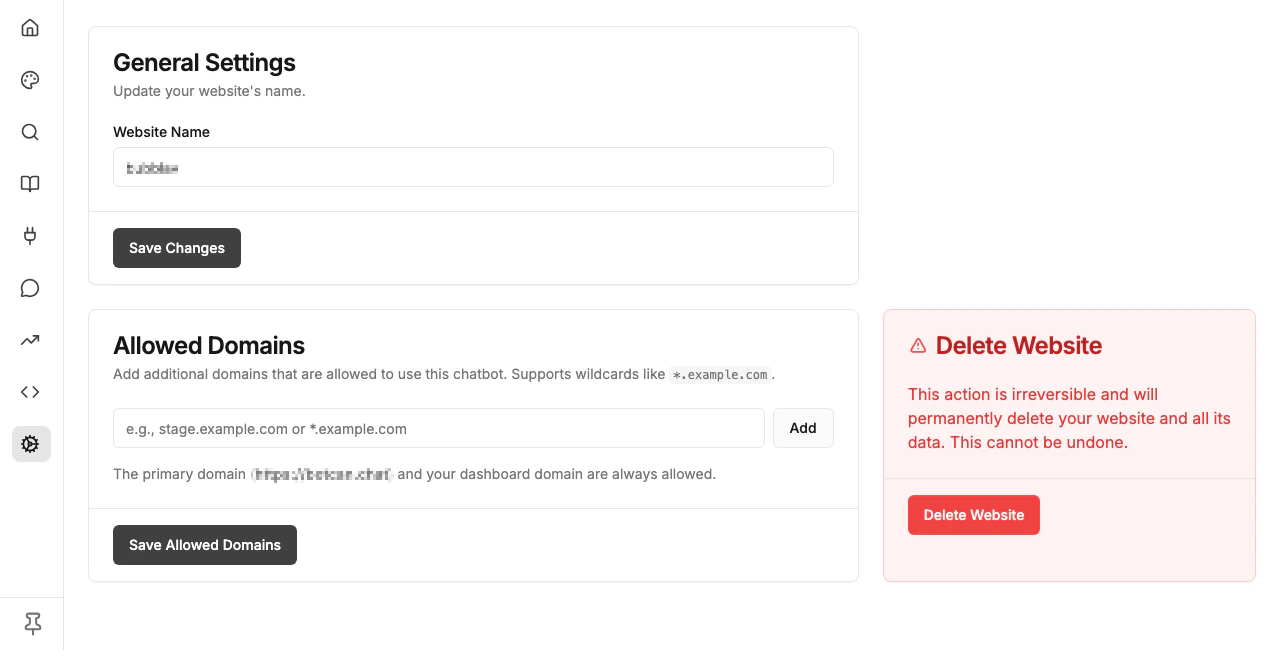
General Settings
Basic configuration for your website.Website Name
The display name shown in your dashboard. This is for your reference only—customers don’t see this.Website URL
The primary domain where your chatbot is installed. Used for:- Crawling your website content
- CORS security (widget only loads on this domain)
- Analytics tracking
Allowed Domains
Control which domains can embed and use this chat widget.Allow All Domains (Recommended)
By default, Allow all domains is enabled. This means your widget will work on any domain without restrictions. This is the best option if you:- Use Framer, Shopify, Webflow, or similar platforms that may add preview or custom domains over time
- Have multiple domains or subdomains pointing to the same site
- Are unsure which domains will serve your widget in the future
Restrict to Specific Domains
If you want tighter control, disable Allow all domains to restrict the widget to specific domains only. Once disabled, you can add allowed domains:- Enter the domain in the input field (e.g.,
stage.example.com) - Supports wildcards like
*.example.comfor all subdomains - Click Add to add it to the list
- Click Save Changes to apply
When restricted mode is on, the primary domain (website URL) and your dashboard domain are always allowed automatically.
Danger Zone
Irreversible actions that affect your website.Delete Website
Permanently removes:- All conversations
- Knowledge base content
- Settings and integrations
- Team member access
Troubleshooting
Changes not saving
Changes not saving
- Check your internet connection
- Ensure you clicked “Save Changes”
- Refresh the page and try again
- Check browser console for errors
Team invites not received
Team invites not received
- Check spam/junk folder
- Verify email address is correct
- Resend the invitation
- Ask them to add notifications@bubblav.com to contacts
Notifications not working
Notifications not working
- Verify email address is correct
- Check spam folder
- Enable browser notifications in Settings
- Check notification toggles are enabled
Next Steps
Widget Design
Customize appearance
View Reports
Track performance