Why Connect Calendly?
- Instant Booking: Visitors get booking links without leaving chat
- Real-time Availability: Show open time slots immediately
- 24/7 Scheduling: Book appointments outside business hours
- Reduced Friction: Streamlined booking improves conversion
Prerequisites
- An active Calendly account (Free or paid)
- At least one event type set up in Calendly
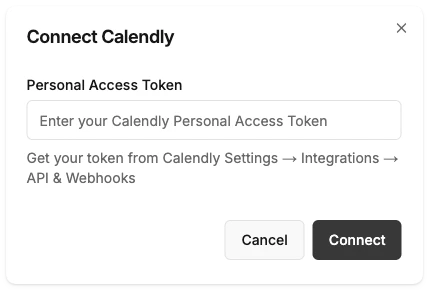
Connect to Calendly
Authorize in Calendly
You’ll be redirected to Calendly’s authorization page. Log in if needed, then click Allow to grant BubblaV access
Available Tools After Connection
| Tool | What It Does | Example Query |
|---|---|---|
calendly_book_appointment | Shows booking links for all event types | ”I want to schedule a consultation” |
calendly_find_events_by_email | Lists upcoming appointments for an email | ”Show my scheduled meetings” |
calendly_cancel_event | Cancels an appointment (visitor clicks Cancel button) | “I need to cancel my meeting” |
calendly_reschedule_event | Reschedules an appointment (visitor clicks Reschedule button) | “Can I move my meeting to next week?” |
Test Your Integration
Try these queries:- “I’d like to schedule a meeting”
- “When are you available this week?”
- “Can I book a consultation?”
- “I need to cancel my appointment”
Reconnecting
If your Calendly connection expires or you need to switch accounts, click Reconnect on the Calendly integration card. You’ll go through the OAuth flow again to get fresh credentials.Troubleshooting
Authorization failed or access denied
Authorization failed or access denied
No event types found
No event types found
- Create at least one event type in Calendly
- Ensure event types are set to On (active) in your Calendly settings
Booking links not working
Booking links not working
- Verify event types are published in Calendly
- Check your calendar is connected to Calendly
Connection expired
Connection expired
- OAuth tokens refresh automatically in the background
- If you see a connection error, click Reconnect on the integration card